
Why Does Your MIG Weld Look Like Caterpillars? (And How to Dial In Perfect Settings)
September 18, 2026 4:33 pm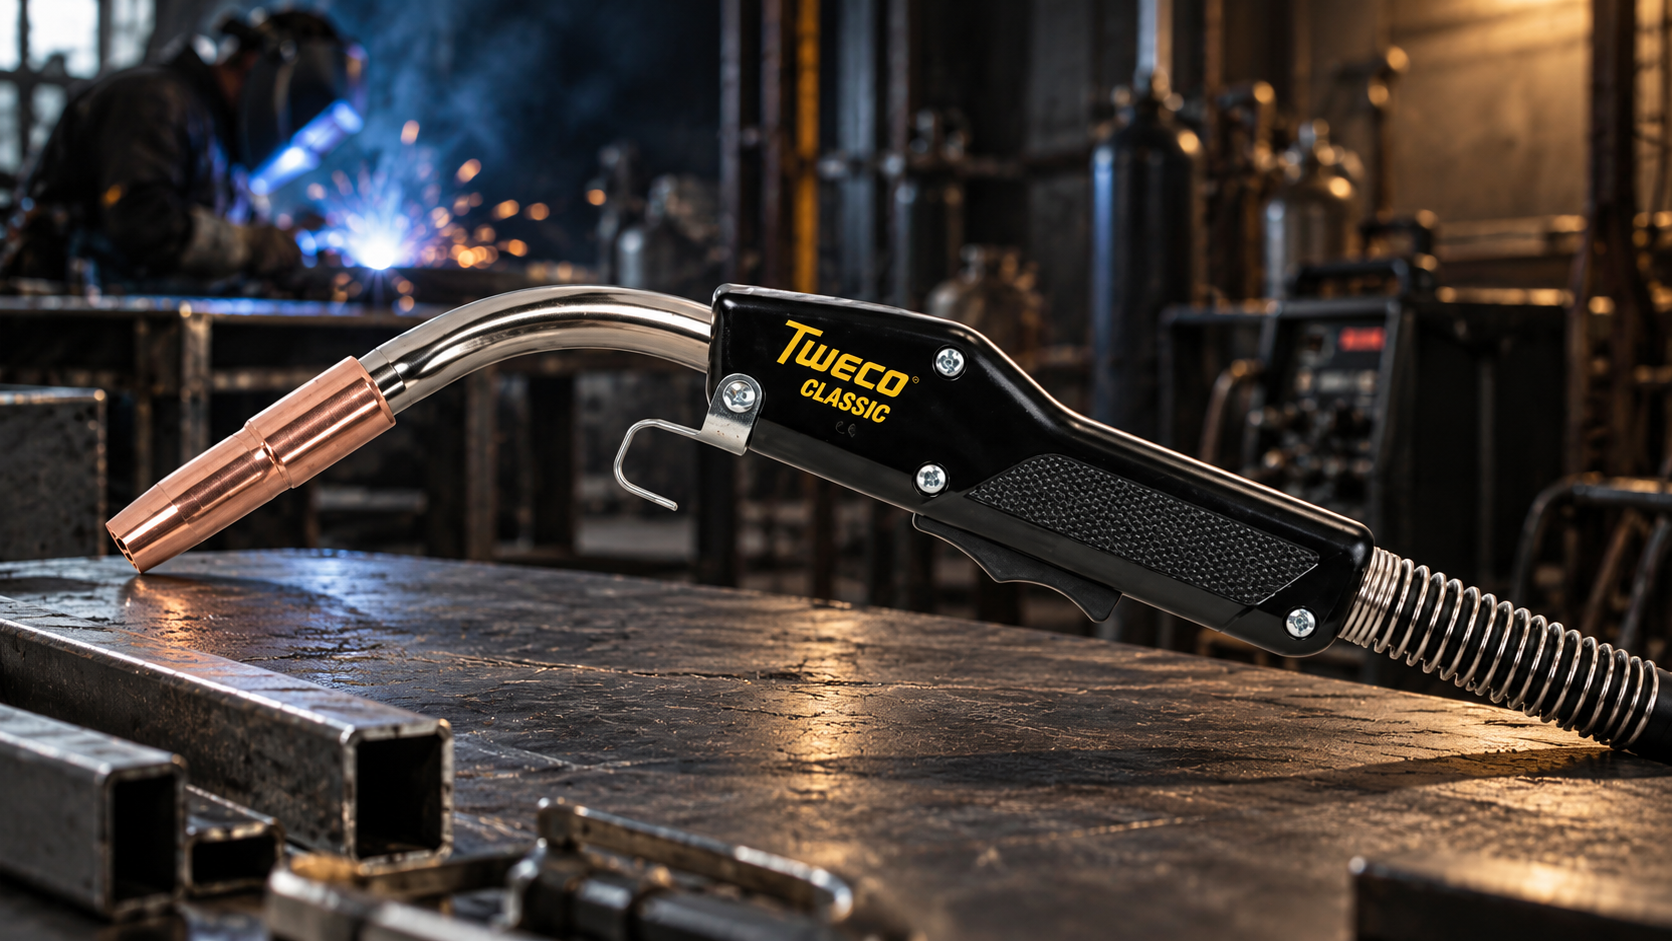
The Mystery of the “Cold Rope”
Every welder knows the pain, whether you are an apprentice striking your first arc on 1/8″ angle iron or a field hand tackling structural plate. You strike an arc with your Tweco MIG gun, line up your joint, and move down the seam. You hear what sounds like sizzling bacon. But when you flip up your hood, there it is: a thick, raised, caterpillar-looking bead sitting on top of the steel without a lick of penetration.
Why does this happen, even when the setup chart inside your welder door says you are in the ballpark?
Welding is not just about turning up heat. It is about balancing amperage, voltage, travel speed, and shielding gas physics in real-time. When one variable slips, the weld suffers.
The Mechanics: What Is Actually Happening under the Hood?
To understand how to fix a bad bead, you have to look at what is taking place at the puddle:
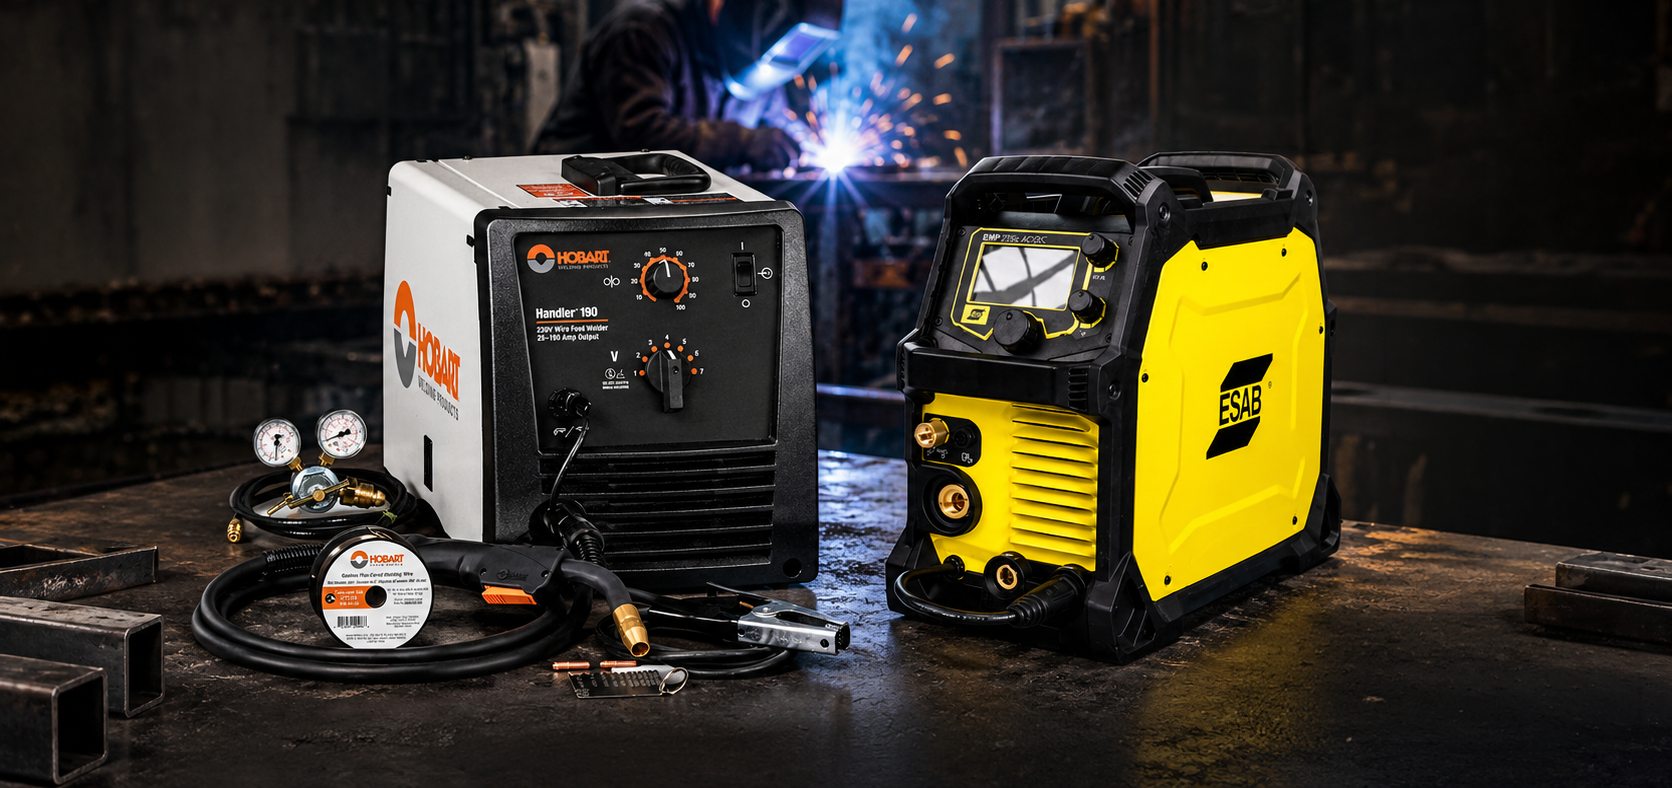
- Wire Feed Speed = Amperage: On machines like a Hobart Handler 190 or ESAB Rebel EMP 205ic, your wire speed dial directly controls amperage. Higher speed feeds more wire into the puddle, requiring more current to melt it.
- Voltage = Arc Height & Bead Width: Voltage controls the height and spread of your arc cone. Low voltage creates a tight, narrow arc that cannot wet out the edges of the puddle, leaving tall, ropey beads.
- Stick-Out (CTWD): Contact-Tip-To-Work Distance matters. If your wire sticks out 3/4″ instead of 3/8″, electrical resistance preheats the wire before it hits the arc, soaking up voltage and leaving you with a cold weld.
The Pocket Reference Guide: Common MIG Issues & Specific Fixes
| Symptom | Root Cause | Instant Shop Floor Fix |
| Tall, narrow bead (“Caterpillar”) | Voltage too low or wire speed too high. | Increase voltage 1 to 2V, or back off wire speed on your feeder. |
| Excessive Spatter | Low voltage for wire speed, or wrong gas. | Switch from 100% to a 75/25 Argon/ mix, or raise voltage. |
| Burn-Through on Thin Sheet | Travel speed too slow or wire too thick. | Switch from .035″ wire down to .025″ ER70S-6 wire and speed up travel. |
| Porosity (Pinholes) | Lost gas flow, dirty mill scale, or draft. | Clean steel with a flap disc; set regulator between 20 and 25 CFH. |
3 Rules Every Welder Should Keep in Their Back Pocket
1. Match Your Wire to the Material Condition
If you are welding dirty, rusty scrap, standard ER70S-3 wire will struggle. Switching to ER70S-6 wire adds higher levels of silicon and manganese deoxidizers, which help float impurities out of the puddle and flatten the bead profile.
2. Respect the Gas Mix
Running 100% is inexpensive and penetrates deeply, but it produces heavy spatter and a harsh arc. Switching to C25 (75% Argon / 25% ) smooths out transfer, cuts down post-weld cleanup, and flattens out your bead profile.
3. Stop Guessing Machine Settings
Every machine behaves differently. A Miller 211 will not be set up identically to an inverter-based Everlast Poweri-MIG or a Lincoln Power MIG 215 MP. Writing down parameters on scrap cardboard or relying on faded door charts gets frustrating fast.
Stop Grinding Away Your Mistakes
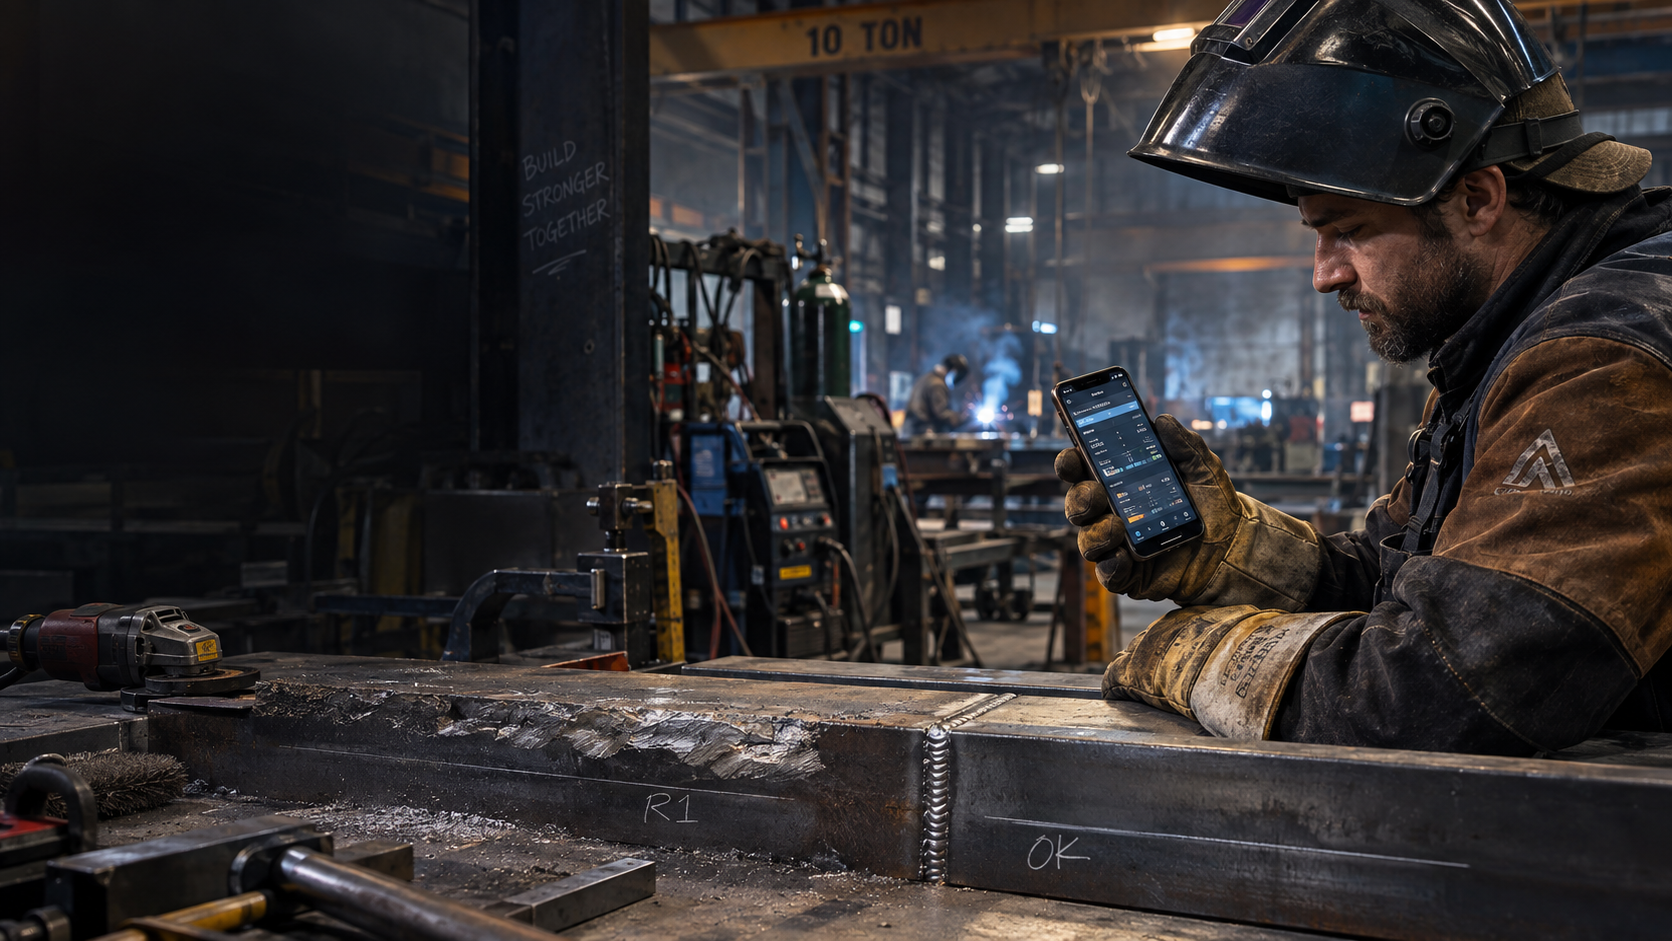
Whether you are calculating heat input for structural code work, setting up a pipe offset, or dialing in TIG pulse settings on thin stainless steel, guesswork costs money and time.
That is why we built WeldersHelper (Pocket Welder Helper). It is a reference app built by welders, for welders. Pull up instant MIG, TIG, Stick, and Flux-Core parameters, material weight calculators, drill and tap charts, pipe layout tools, and bend charts right from your phone, even when you are working out of cell range down in a ditch or inside a tank.
